Part (C) Building Windows XP Embedded Image:
1) (Actually you need it since Part (A)) Get the CD installer from: http://www.microsoft.com/windows/embedded/downloads/default.mspx
2) You might need to register to get the product key at MS: http://www.microsoft.com/windows/embedded/eval/getregistration.mspx
3) Insert the Dics 1. Browse to "Tools Setup" in left pane. Click to install.

4) You might need to insert product key, mentioned at step (4).

5) Browse to "Database Engine Setup" and click to install. This will install MSDE.

6) Browse to "Database Setup" this time. Click to install.
 7) If you did not follow step (5) & (6), you might get this error message.


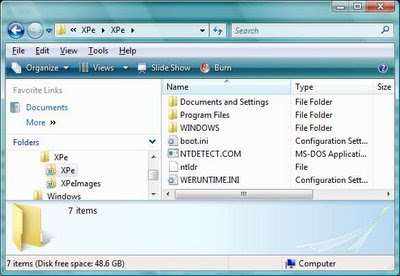
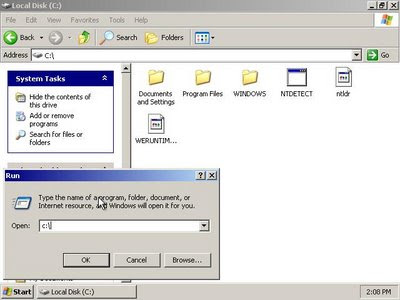
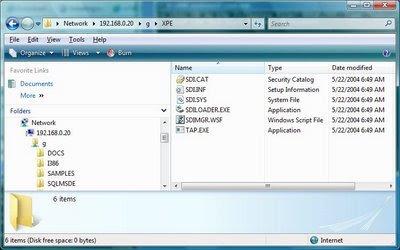
 25) We also can browse to root folder. Done.
7) If you did not follow step (5) & (6), you might get this error message. 8) Once the installation done, launch the Microsoft Component Designer.
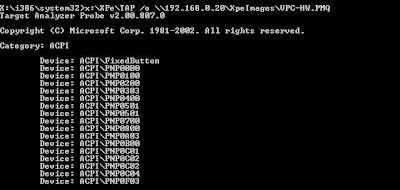
9) Import the hardware information xml file we created on Part (B).
10) Go to "Select Prototype Component", expand the Software/Test & Development node and select the Selector Prototype component. From the File menu, choose Save to save your component. A file with extension SLD is created with your component definition
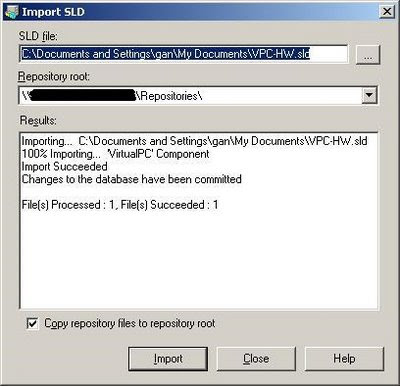
11) From the Tools menu, choose Component Database Manager to open this tool.
12) Select Import and choose the SLD file that you just create. Make sure it imports successfully.
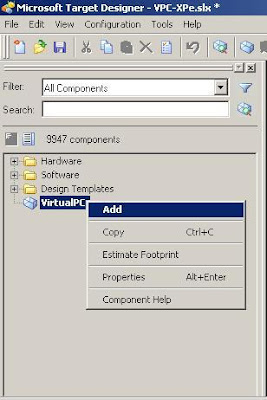
13) Now we launch the Microsoft Target Designer. Create new configuration.
14) From the list of component, right-click on the component we newly create and select "Add".
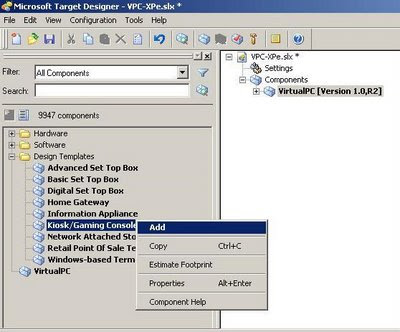
15) Add extra component, We will use the Kiosk/Gaming Console macro component, a design template that can be found under Design Templates.
16) Add the Runtime Quick Start Helper Component that will speed up the process..
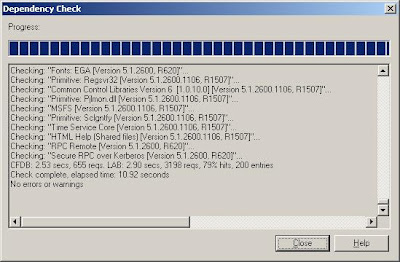
17) To build our image, press F5 to check dependencies. All necessary underlying components are added to the image.
18) Expand the User Interface Core component and select settings. The settings appear in the details pane. Select to Show Run on Start Menu, Show All Programs List on Start Menu, and any other settings you want to apply.
19) We can now build the image. Hit F7. You might be asked for dependencies check.
20) Once the image building success, we got the file we want.
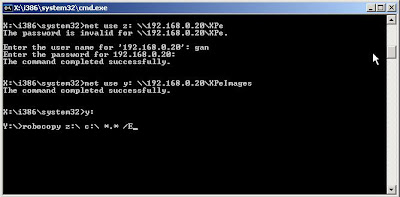
21) We need to copy the image file to the root drive of VPC we created and formatted at Part (A). You can download it from MSDN.
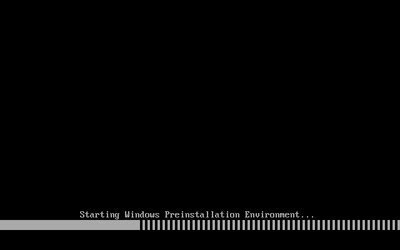
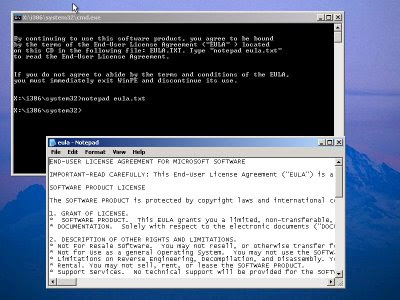
22) We can exit the command prompt in VPC by typing EXIT to reboot. Detach the CD installer. Here we got Windows XP Embeded.
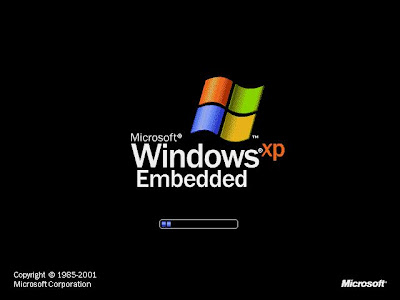
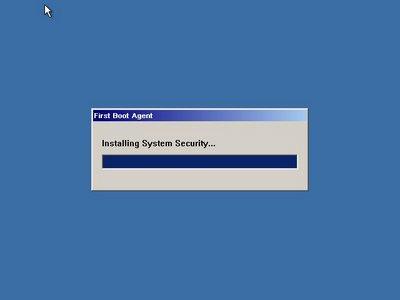
23) The first boot will go through the First Boot Agent (FBA) process, which builds the machine registry, enumerates the device drivers, registers all components, and so on..
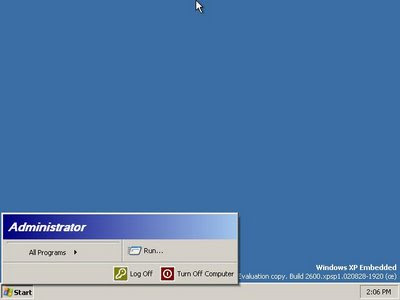
24) Reboot done and we got our desktop.
26) Whew! what a lengthy installation. Luckily, MS have simplify it.
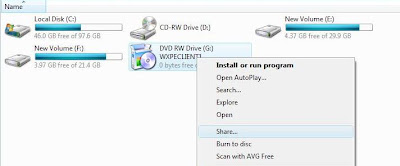
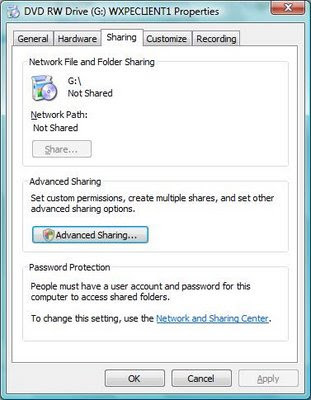 8) Check the "Share this folder". Click "OK" to exit.
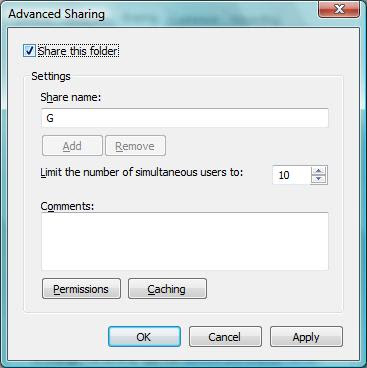


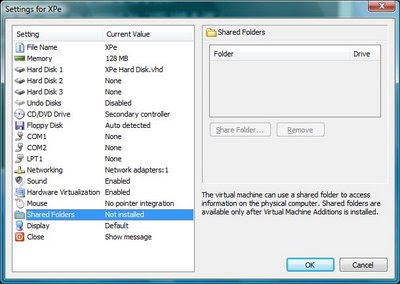
 13) You are done for this part (B).