The syntax for MSSQL 2000 built-in encryption on CREATE PROCEDURE is:
CREATE PROC [ EDURE ] procedure_name [ ; number ]
[ { @parameter data_type }
[ VARYING ] [ = default ] [ OUTPUT ]
] [ ,...n ]
[ WITH
{ RECOMPILE ENCRYPTION RECOMPILE , ENCRYPTION } ]
[ FOR REPLICATION ]
AS sql_statement [ ...n ]
To decrypt it, for novice user, you can download the freeware (Unless you wanna pay the money for this software?) called "dSQLSRVD", just log in and find those SPs with checkboxes checked, highlight it and click "Save", you can get the content of the stored procedure you desire. Easy, huh?


For average developer, maybe you can go to this site (please take note this method seems have limitation on the size of nvarchar(4000), you might need to roll back if your encrypted SP is long), or this site, and try to come out your version of freeware, though you can find a ready-made workable sql script if through a thorough search.
Final piece, Windows applications is too common and thus make it too popular for developers to crack it. You better depend on your own.
p/s: In MSSQL 2005, there's few new features added,
1) EncryptByAsymKey
2) EncryptByCert
3) EncryptByKey
maybe it's worth for try.
 4) You will be asked to key-in the keymap twice. Hit enter to proceed.
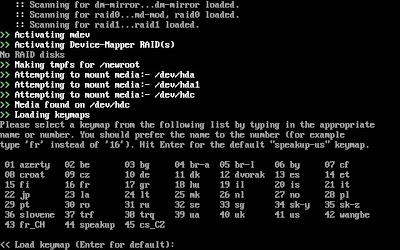
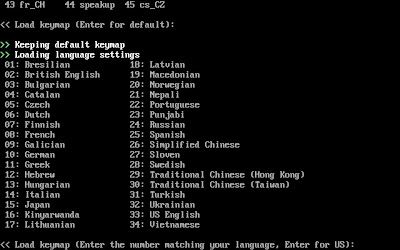 5) Now the main app will load. Since there is some reading problem on the PS/2 mouse, you would not be able to use the mouse. Quoted from
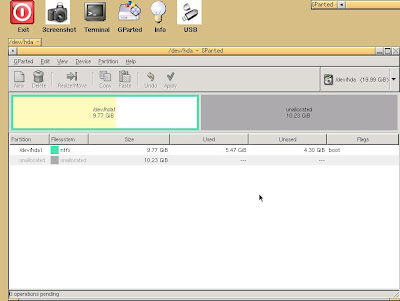
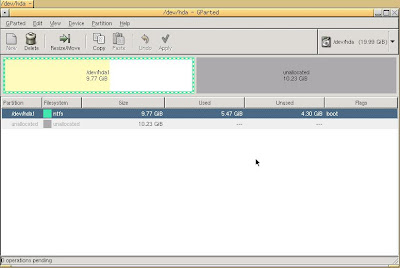
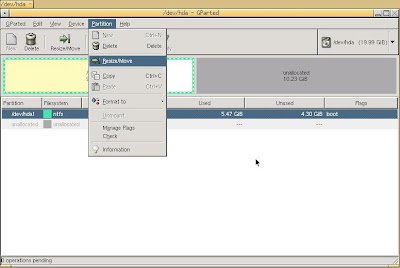
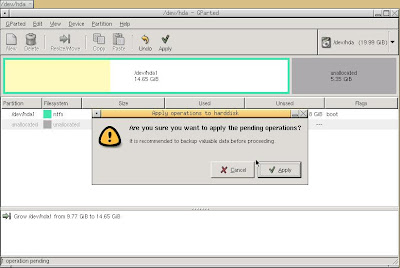
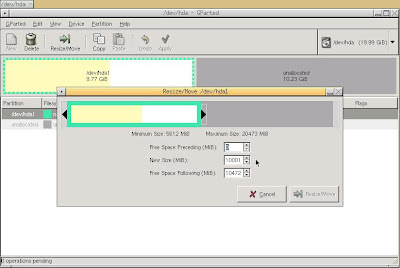 9) Use "Alt-E" and "Down" arrow key to select the "Apply All Operations". Partition merging will be started.
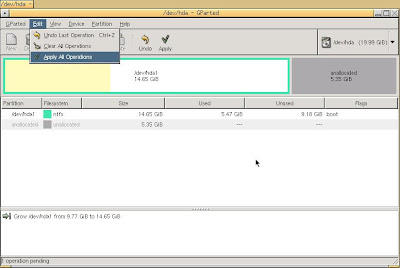
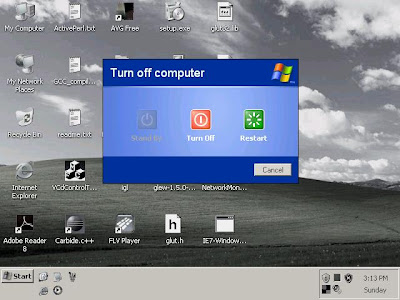
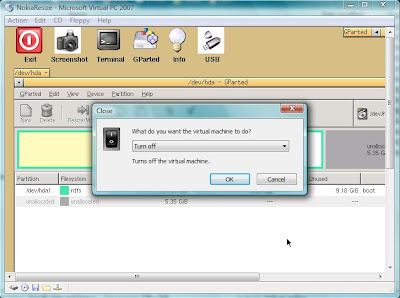
 10) Once it's done, turn-off the Virtual PC and reboot.
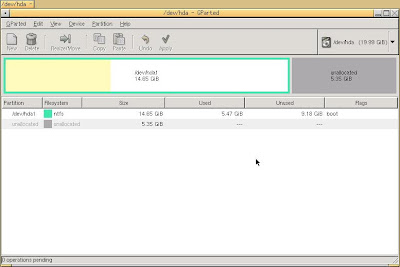
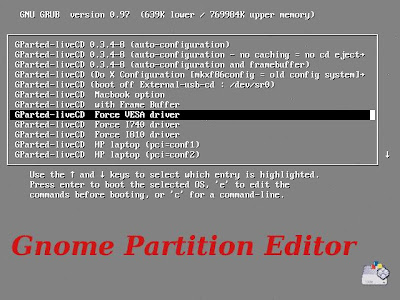
 11) This time, select "Boot partition #1 on the first hard drive". (You need to scroll down if you did not see it from the Gnome Partition Editor.
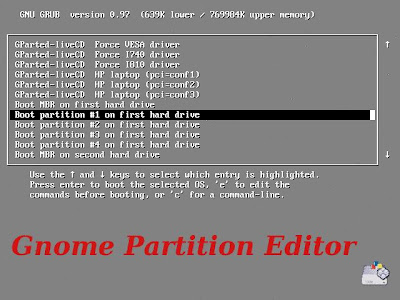
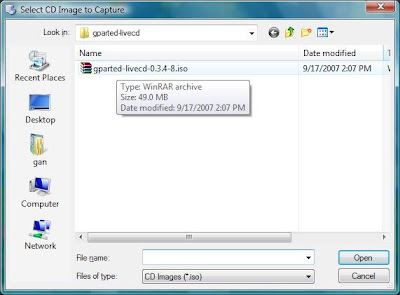
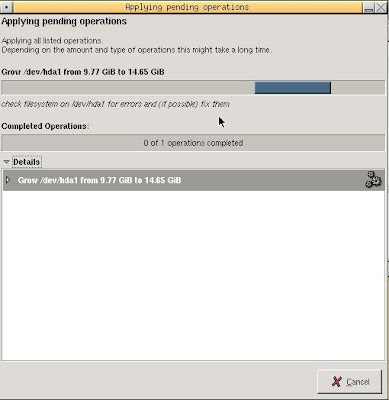
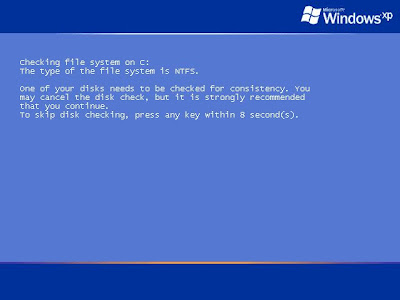 13) Eventually, the partition merge is done and now you will see the extra hard-disk space increase on the main primary partition. (You might need to release the iso image captured on step 1 after done)
 Here's the link where you can