Sunday, November 4, 2012

WinRT: Deploy a win8 app locally (Sideloading)

After 3 weeks of long development (using spare times from after-working-hours, and weekend), the Windows 8 app that I've developed is almost done with some basic features.

Before submitting the app, the package has to be tested. To run it locally without the debugger's help, it's not so straightforward.
Here're the steps needed:

1) Start package creation using Visual Studio.

2) Sign-in if needed, not needed since I only want to test locally.

3) Then configure the package.

4) Done, and these are all the files created. It comes with a cert.

5) OK, you think you can start installing the cert, by right-click it and install.

6) "Certificate Import Wizard" prompted. Just install in local and next..., until suceess.

7) Then start the PowerShell, run as admin with this command:
a) Windows+R
b) Start-Process powershell -Verb runAs


8) Change the directory if needed, then
a) change directory: cd XXX
b) deploy package: add-appxpackage YYY.appx
where XXX (directory), YYY.appx (executable file) created in step (4).


But not working :(

9) After goggling, we have more job to do.

10) Now start the Microsoft Management Console, type:
a) Windows+R
b) mmc

10) You might need to learn 'How to Use the Certificates Console'

11) Use the import function and you will be greeted by wizard again.

12) Browse to the cert (.cer) created by Visual Studio previously.

13) then click 'Next' all the way till success. You cert is in the root.


14) Back to power-shell again. Deploy package with this command: add-appxpackage YYY.appx

15) VoilĂ !

16) Sometimes, your deployment might fail. From here:
ERROR_DELETING_EXISTING_APPLICATIONDATA_STORE_FAILED : 0x80073D05

17) One of the possibilities is simulator (or my app locked the resource??) Just turn-off the simulator (thru' "Task Manager") and re-deploy will do.


I'm back....

After a long period of stop blogging, I'm back.

With the success of Apple AppStore & Goole Play, Microsoft has launched it's version of app store. As a developer, more skill-sets are required to survive (of course, if I can earn some side-income from advertising is even better) and thus dive into Windows 8 app development.

To me, in order to attract more users to download, one have to consider 2 things:
1) useful
2) creativeness

Since the later one is not easy, so I start the first with what happen around me. Wait for more...

Tuesday, August 9, 2011

Creating Linked-server in MSSQL

I come across a situation where I need to import the data from one instance to another, in MSSQL. So, I add the steps here to see it might help.

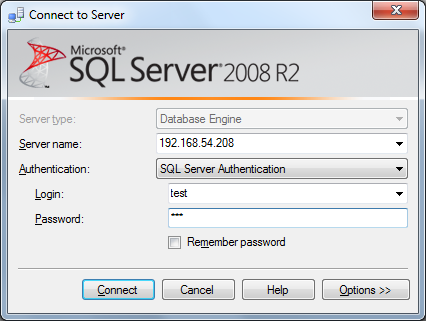
1) At source DB where we want to retrieve the data, create a new login account, eg. "test" with password "123".

2) Use the neccesary authetication, choose to untick "Enforce password policy" for our testing purpose.

3) If the db name in source DB is called "testing", maps the test account "test" to this db, with appropriate schema. In this case, it's "dbo". Add the role as "db_datareader" as well.

4) At destination DB where we want to store the data, create a same new login account created in step (1), eg. "test" with password "123", using SA account.

5) Use the neccesary authetication, choose to untick "Enforce password policy" for our testing purpose.

6) If the db name in destination DB is called "testDB", maps the test account "test" to this db, with appropriate schema. In this case, it's "dbo".

7) Add a linked-server in destination DB, you can either use SQL script or GUI.

8) You can verify the available linked-server in the destination DB, thru' Catalog Views: sys.servers

9) Now, log-in as "test" user.

10) So, you should be able to query the source DB data by using a fully-qualified name.

Wednesday, May 12, 2010

You can get my projects at Softpedia now, hehe

Softpedia Editorial Team informed me that they have included my projects in their sites. 
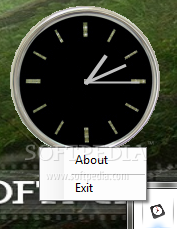
1) Analog Clock - A small desktop gadget that will display the current time (Downloads: 44)


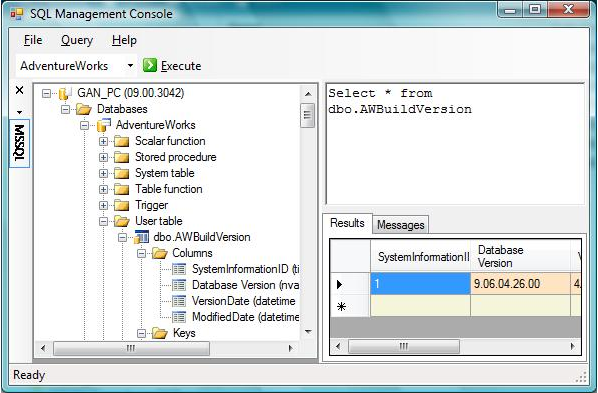
2) SQL Management Console 0.1.1.29977 -Query pane and result pane (Downloads: 50)


Again, really thanks to them.

Wednesday, February 24, 2010

Print Zebra barcode label thru' ASP .NET

Recently, one of the projects I am maintaining required me to enhance the existing feature, which is printing the Zebra barcode label through ASP .NET. The old staff who developed it left the company long time ago, and there's no other colleagues know how it was developed and worked.

Printing it as WinForm application is not uncommon with the SerialPort Class, as there's a lot of resources out there, but not so true for ASP .NET.

So I needed to google around and posted question to the forums. With some lucks and googling skills, i managed to let it works and add enhancement on that. But i found not full steps on web, so just to post this to help someone who might need it in the future.

1.a) Set the "Generic/Text Only" as default printer driver. Yes, you see it correctly, it's not zebra printer driver that match your zebra printer, since it's printed through web.


1.b.i) If you do not have it, you can go to any existing printer property page (right-click on any other printer driver) and add this driver.


1.b.ii) Browse to driver list start with "G", then you will find it. Finish this installation process.


2) Once you have the driver, setup the ASP designer with Zebra programming language (ZPL) like this (The buttons are for user to trigger the ZPL to send).

3) By calling the undocumented print() function (not window.print(), and I think it works on IE only) in javascript, you can print the zebra bar-code label through ASP.NET.

4) Keep the web form as clean code as possible, you will send it as ZPL and ZPL only to printer.

5) Print it! You should get it ;)